With any bicycle, the front fork is attached to the frame by means of a headset. This headset has to endure quite hard. Just think of the shocks it has to absorb when you drive over the Flemish cobblestones.
It sometimes happens that there is play on the headset, which makes it necessary to disassemble it and replace the rings or ball rings or in the worst case to mount a new headset.
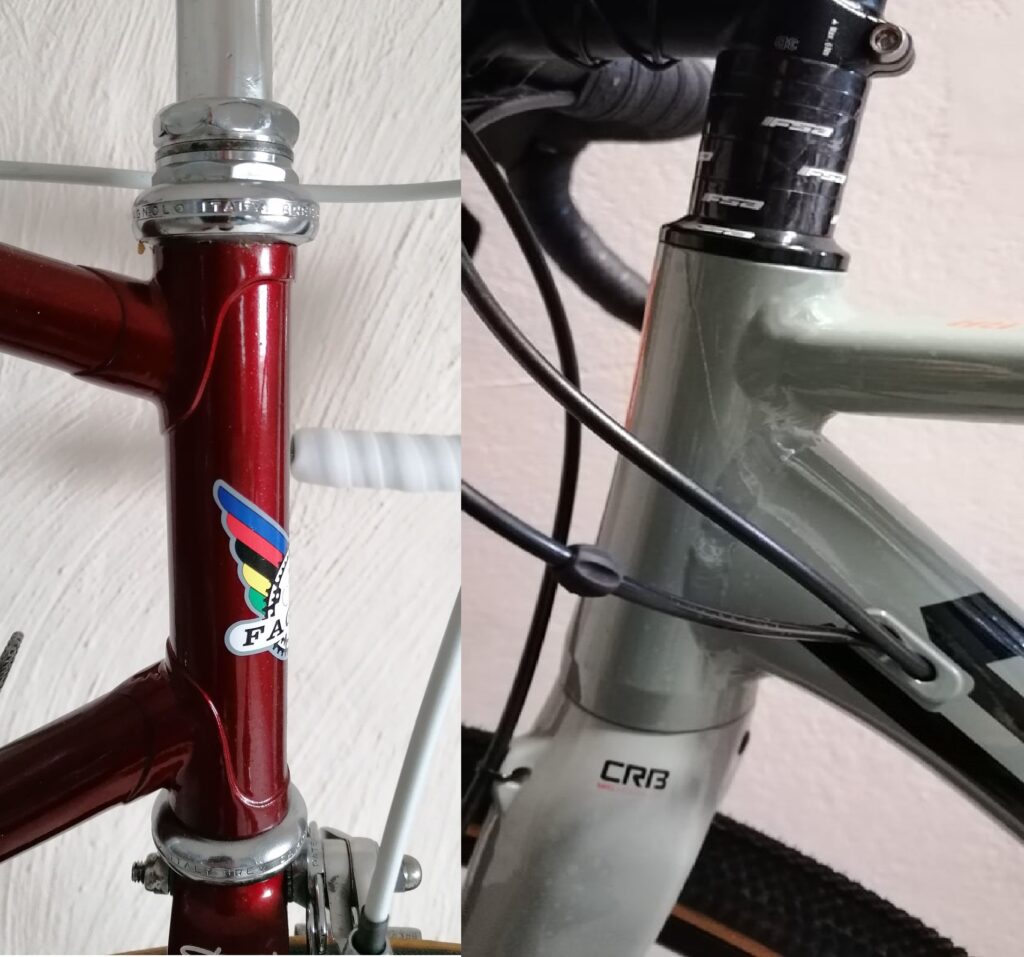
Nowadays, practically all new bicycles are equipped with an integrated headset, which means that you can no longer see the headset. The mounting of this modern ball head is also much simpler.
With a vintage bicycle, however, you still have a classic headset where all elements are visible.
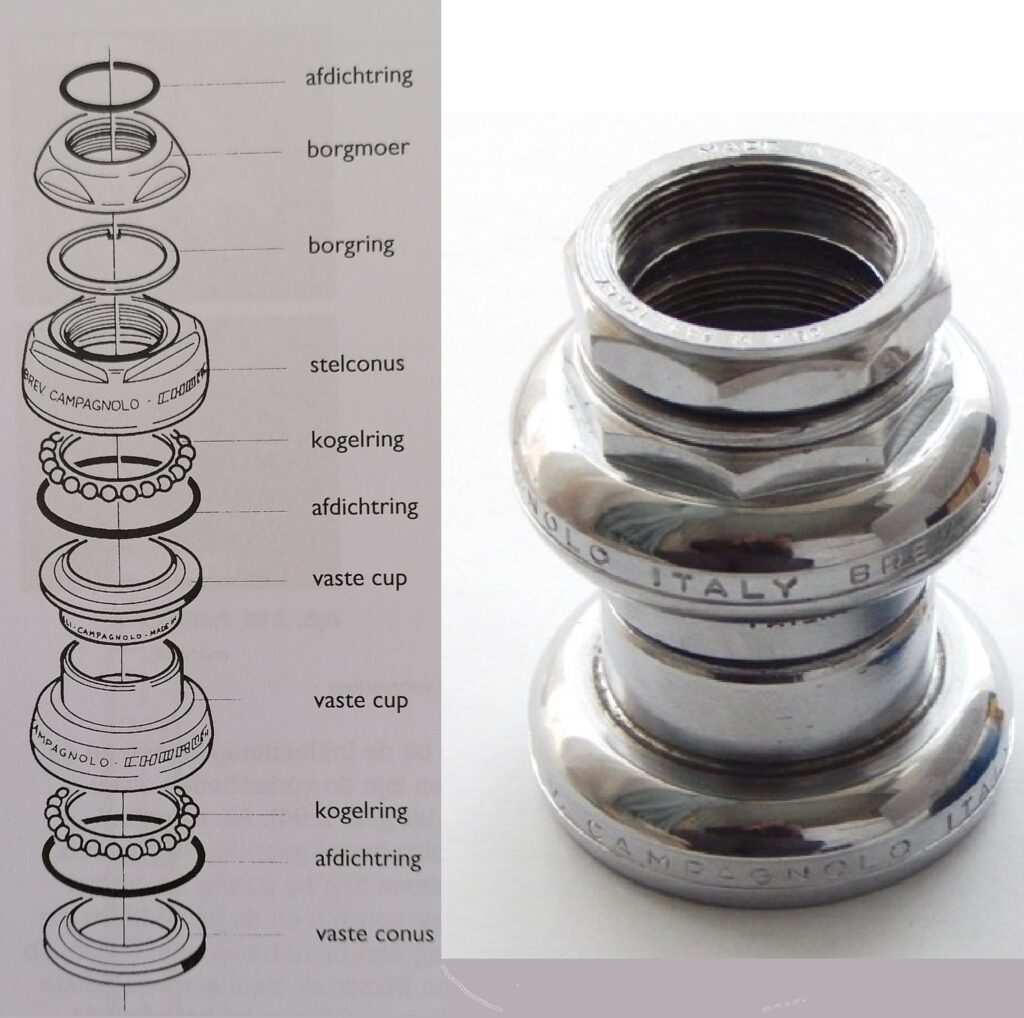
Classic ball head structure
- A classic ball head consists of the following parts:
- a lower headset cone, also called front fork cone, which is pressed onto the front fork,
- balls or ball rings,
- a lower and upper headset cup that is pressed into the head tube
- an adjusting cone that is screwed onto the front fork
- a lock washer, lock nut and sealing washer
Headset with needle bearings
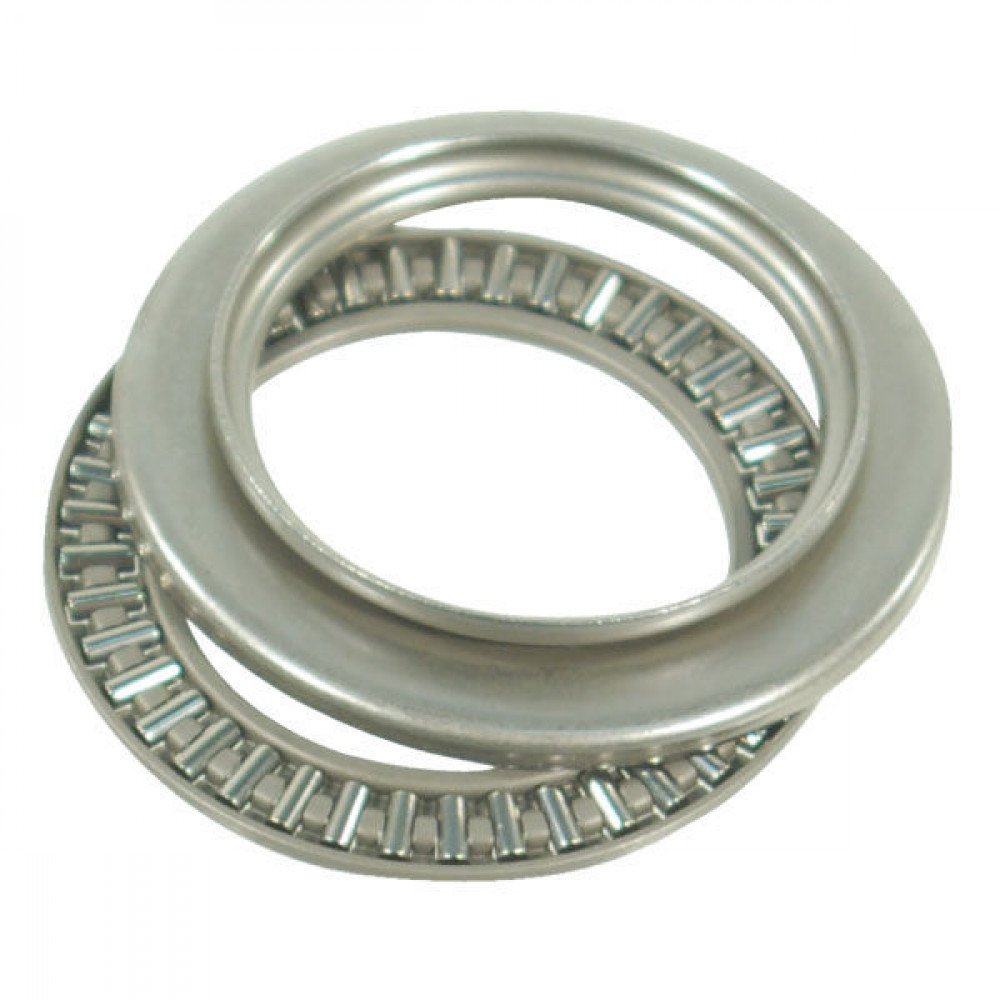
Slightly more modern, but still belonging to the classic headsets, is the headset with needle bearings where the balls have been replaced by needles, which are actually small cylinders. The advantage of this is that the rolling surface is therefore much larger, with the result that the headset can absorb greater forces.
The needle bearings are mounted in a special casing and the cups and cones are also designed differently. They have a flat rolling surface for the cylinders.
Disassembling and reassembling the headset
Disassembling headset
Removing the headset is easy with a flat wrench. However, the fixed cups must be removed with a so-called cup ejector. This is actually an ordinary tube that can open and close at one end. The cup expeller is inserted with the closed side into the head tube with the open side facing the cup to be removed.
The cup is then knocked out of the headset lug with a hammer. Keep your hand under the cup or place a soft cloth on the floor to prevent the cup from falling to the floor and getting damaged.
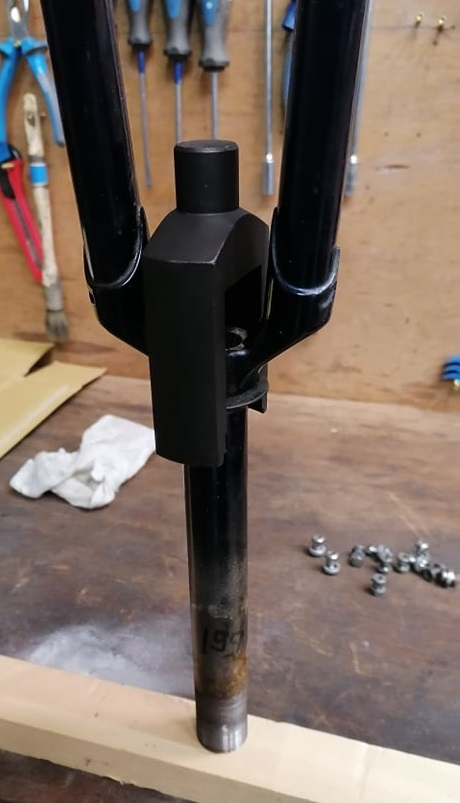
The fixed front fork cone must also be disassembled with a special tool.
Assemble headset
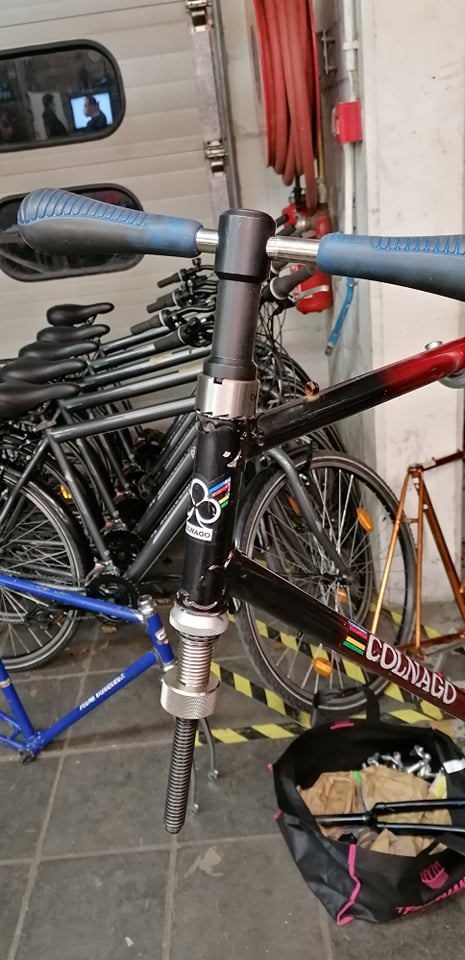
Before mounting the headset, it may be necessary to flatten and mill the headset lug. This is important to give the fixed upper and lower headset cups a good support and to be able to mount them straight.
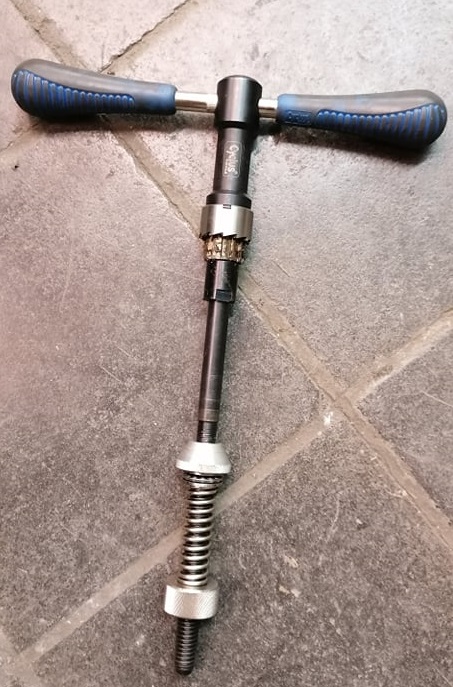
This is done with a headset cup mill that consists of a wringer, a face mill, an inner headset cup mill and a guide that ensures that the milling is straight.
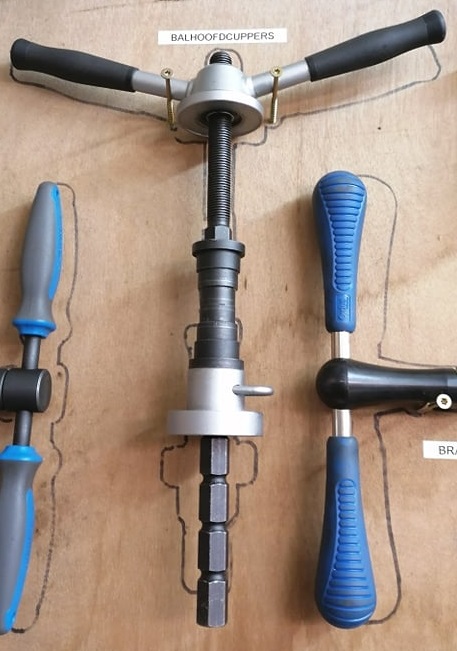
The headset cups themselves are pressed into the head tube by means of a headset cup pressing device. This tool ensures that the cups are pressed straight into the head tube.
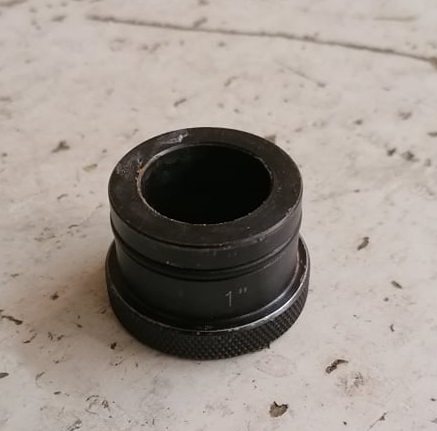
The front fork cone is also pressed onto the fork with a special tool. This consists of a cylinder that is slid over the front fork up to the front fork cone. An extension is placed on the cylinder that can be tapped with a hammer until the front fork cone is in the right place.
provide enough grease for the lower headset cup and the adjusting cone so that the balls or ball ring can rotate smoothly without too much friction. Make sure you turn the adjusting cone far enough so that the fork cannot move but still turns smoothly enough.
Finally, slide the lock washer onto the head tube and tighten the lock nut onto the head tube. Note the tooth that is on the retaining ring and should fit in the groove of the front fork. It is best to hold the adjusting cone with a flat wrench to prevent it from twisting.
You can buy a lot of tools at bol.com in the bicycle tools department

